
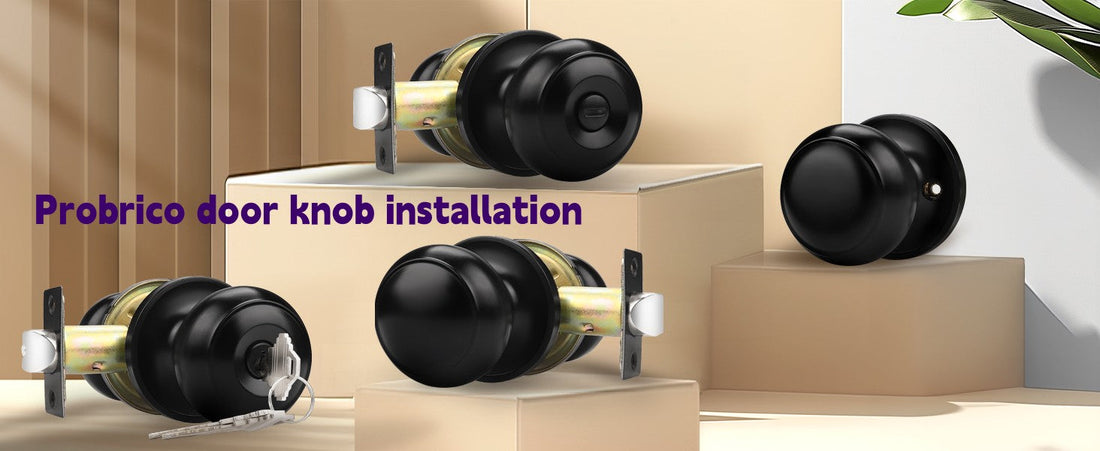
Probrico door knob installation
Installing a Probrico door knob is similar to installing most standard door knobs. Here’s a step-by-step guide to help you install it correctly. This guide is for a Probrico passage, privacy, or keyed entry knob.
Before You Start: Tools & Materials Needed
New Probrico Door Knob Set: This includes both the interior and exterior knobs/handles, the latch mechanism, and mounting screws.
Screwdriver: A Phillips head (#2 is most common) is usually all you need. A flathead can sometimes be helpful.
Tape Measure: For verifying measurements.
Pencil: For marking screw holes.
(Optional but Helpful) Drill: If you need to drill new holes or enlarge existing ones.
(Optional) Hammer & Chisel: For mortising the strike plate on the door frame.
Step-by-Step Installation Guide

This guide assumes you are replacing an existing door knob.
Step 1: Remove the Old Door Knob
Locate the Release Pin/Clip: Look for a small hole, slot, or button on the side of the interior knob's neck (the shank between the knob and the door).
Insert a Tool: Push a small Allen wrench, a nail, or a flathead screwdriver into this hole. While pressing the tool in, pull the knob straight off the door. It should come off easily.
Remove the Rosette/Plate: Once the knobs are off, you'll see a decorative plate (called a rosette) held on by screws or a snap-ring. Unscrew it or gently pry it off.
Unscrew the Latch Plate: From the edge of the door, unscrew and remove the latch mechanism.
The entire old assembly should now be free from the door.
Step 2: Prepare the Door & Check Fit
Clean the Holes: Ensure the 2-1/8" crossbore hole and the 1" edge bore are clear of debris.
Test Fit the New Latch: Insert the new Probrico latch into the edge of the door. The angled side of the latch bolt should face the direction the door closes (so the bolt can slide into the strike plate smoothly).
Check the Latch Plate: If the new plate is a different size than the old one, you may need to chisel out the mortise (the recessed area) so the plate sits flush with the edge of the door.
Step 3: Install the New Latch Mechanism
Insert the Latch: Place the latch into the edge bore hole.
Secure the Latch Plate: Place the flat plate over the latch and screw it into place using the provided screws. Ensure it is snug and flush with the door edge.
Step 4: Install the Knobs/Handles
Take one knob and slide its connecting post through the latch mechanism from one side of the door.
Take the other knob and align its connecting post with the one from the first knob.
You should feel them slot together. The two knobs should now be held loosely in place.
Find the alignment screws. There are usually two screws (one on top of the other) on the inner neck of the knob/rosette.
Tighten these two screws. As you tighten them, they will pull the two sides of the knob together, securing the entire assembly to the door.
Step 5: Install the Strike Plate on the Door Frame
Close the door slowly and note where the latch bolt hits the door frame.
Mark the top and bottom of the latch.
Position the new strike plate over this mark and trace its outline.
Use a chisel to mortise (carve out) the area so the plate will sit flush with the frame.
Drill a hole for the latch bolt to enter.
Screw the strike plate into place.
Install door knobs on new doors. If it's a brand new door without any holes, you will need to use the template provided with your Probrico kit to mark and drill the crossbore (large hole) and edge bore (small hole for the latch).
1. Prepare the Door
Make sure your door:
Has a hole size of 2-1/8" (standard)
Has a backset of either 2-3/8" or 2-3/4"
Has a latch hole (edge bore) of 1"
If these measurements don’t match, you may need to drill or use an adapter.

2. Install the Latch
Insert the latch mechanism into the hole on the edge of the door.
Make sure the angled side of the latch faces the direction the door will close.
Secure it using the two screws provided.
3. Attach the Knobs
Insert the exterior knob (with the spindle) through the latch.
Align the interior knob with the spindle and screw holes.
Attach the interior knob using the long screws provided.
For privacy knobs, insert the privacy pin into the small hole if locking is needed.
4. Install the Strike Plate
Position the strike plate on the door frame.
Screw it into place using the short screws provided.
Make sure it aligns with the latch bolt for smooth operation.

Last Steps: Test the Knob
Turn the knob to ensure it retracts the latch smoothly.
For privacy or keyed knobs, test the locking mechanism.
Troubleshooting Tips
Knob feels loose? Tighten the screws more securely.
Latch doesn’t retract? Ensure the spindle is properly aligned through the latch.
Door doesn’t close/latch smoothly? Adjust the strike plate position.
1 comment
We bought three model DL12061SNBK. Do you have a video on how invert the handle